


 800 WHITES
Remove Wax on Clothing: A Step-by-Step Guide by Whites® in Dubai and Abu Dhabi
19 Apr 2026
Overview
This article presents a detailed, step-by-step guide for effectively removing wax from clothing. It underscores the necessity of gathering appropriate tools, allowing the wax to harden, and applying heat to successfully lift the wax. The article elaborates on various methods, including:
-
Scraping
-
Utilizing heat with paper towels
-
Addressing any remaining stains with specialized cleaners
This comprehensive approach ensures thorough cleaning while preserving the integrity of the fabric.
Introduction
Removing wax from clothing can seem like a daunting task, particularly when the vibrant colors and textures of cherished garments are at risk. However, with the appropriate tools and techniques, this challenge can be effectively addressed. This guide provides a systematic approach to not only eliminate wax stains but also to ensure that any residual marks are properly treated, restoring garments to their original condition.
What if the wax has set in, or if delicate fabrics are involved? Understanding the nuances of wax removal is essential for achieving optimal results without damaging valued items.
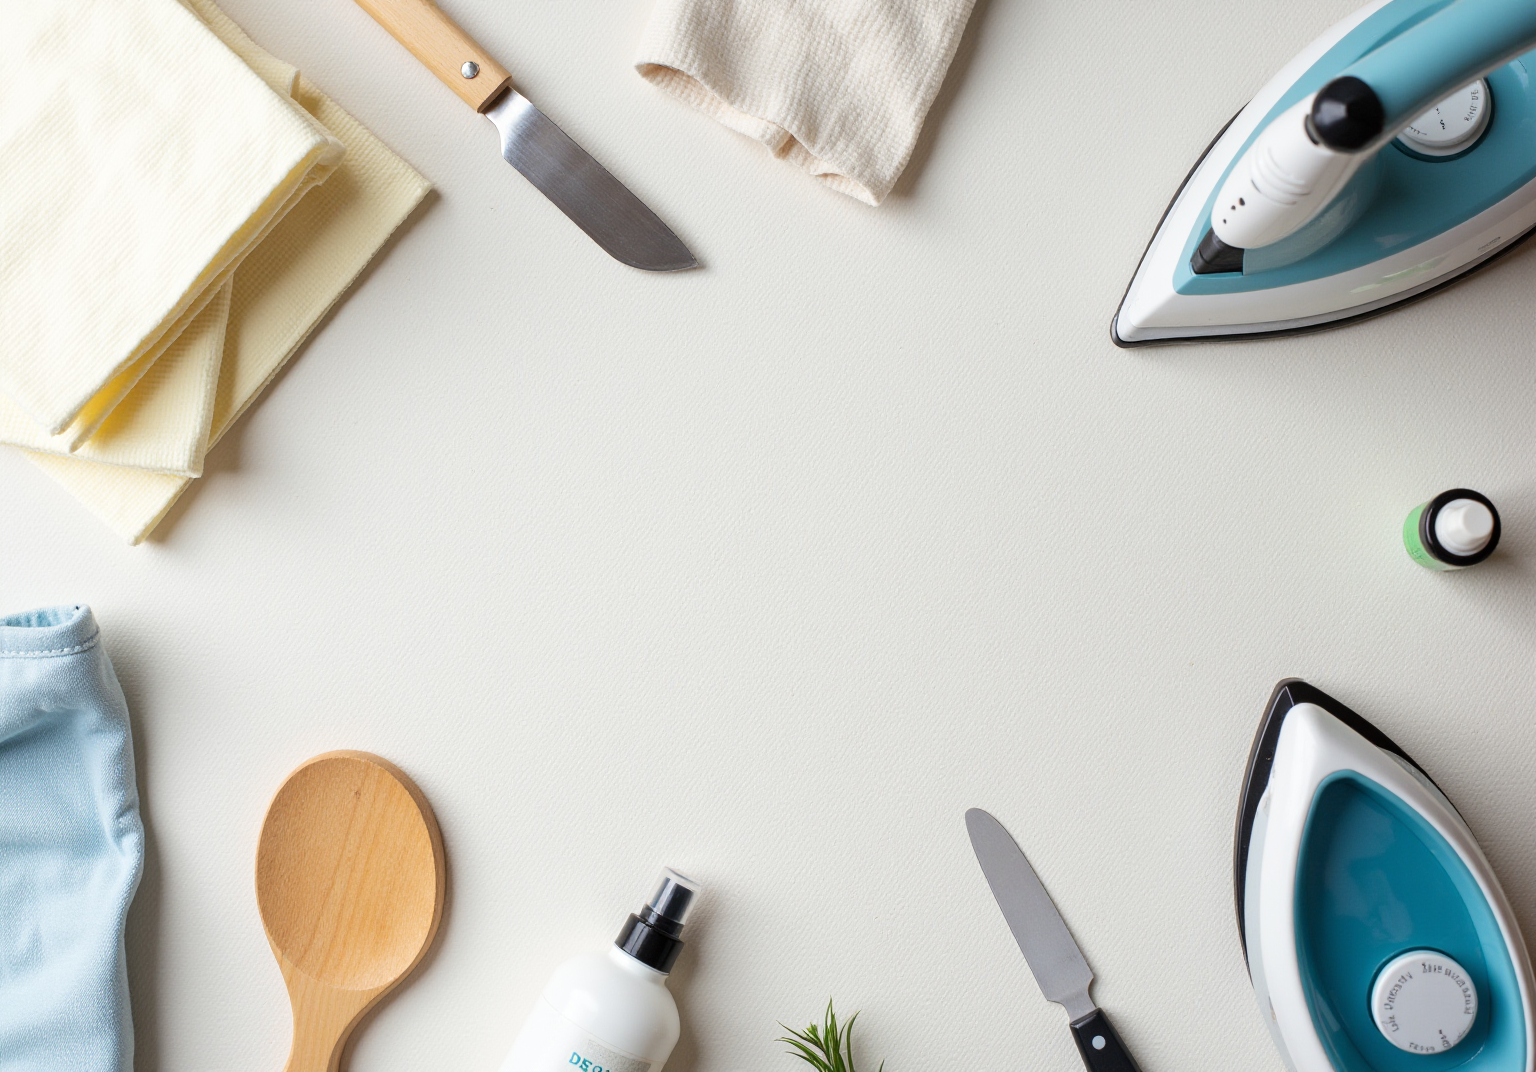
Gather Necessary Tools and Materials
-
Paper Towels or Blotting Paper: These are essential for absorbing melted wax and preventing further staining.
-
Dull Knife or Spoon: This tool is useful for gently scraping off excess wax without risking damage to the fabric.
- Iron or Hair Dryer: These tools provide the
necessary heat to melt any remaining wax
, facilitating easier removal. A hair dryer can effectively soften the wax, making it simpler to absorb with paper towels.
-
Stain Remover residual stains
: This is important for treating any that may remain after the wax has been removed.
-
Washing Machine: This is necessary for the final cleaning of the clothing item, ensuring it is free of any wax residue.
Before you begin, it is crucial to check the care label of your garment to ensure that the cleaning methods you choose are safe. Having these items ready will streamline the process and enable you to effectively tackle the issue of wax on clothing quickly, as prompt action is essential to prevent the stain from setting.

2. Let the Wax Harden
To effectively remove wax from material, it is essential to allow the wax to harden completely. This process can be expedited by placing the item in the freezer for approximately 15 to 30 minutes. Once the wax solidifies, it becomes significantly easier to scrape off without risking damage to the material. For example, using a dull knife or the edge of a credit card can help gently lift the hardened wax. This method not only minimizes the risk of damaging the material but also prepares the clothing for further cleaning.Understanding the behavior of wax on clothing across various textile types is crucial; delicate materials may require gentler techniques to avoid harm. Additionally, it is advisable to inspect the material for any residual marks after the wax extraction process. This ensures that the garment is entirely cleaned and ready for use. As Neakasa suggests, utilizing the appropriate tools, such as a low, non-steam iron, can enhance the effectiveness of the wax removal process. By adhering to these steps, one can ensure a more effective and efficient wax removal process.

3. Scrape Off Excess Wax
Begin by using a dull knife or spoon to gently scrape away as much of the hardened wax on clothing as possible. It is essential to handle the material with care to prevent any damage. Always work from the outer edges of the wax on clothing stain toward the center; this technique minimizes the risk of spreading the wax further into the material. For delicate fabrics, consider placing a thin cotton cloth between the scraping tool and the textile to provide an additional layer of protection.After scraping, utilize a hair dryer on a low setting or an iron set to low heat to help melt any remaining wax on clothing. To absorb the wax on clothing effectively, place a paper towel or brown paper bag over the area. For particularly delicate fabrics, the freezer method can be beneficial; place the item in a plastic bag and freeze it for about an hour to make the wax brittle and easier to remove.Always inspect the garment before drying to ensure that the mark is completely eliminated, as drying can set any remaining wax on clothing.

4. Apply Heat to Melt Remaining Wax
To effectively remove wax on clothing, begin by placing a clean paper towel over the affected area. Set your iron to low heat and gently press it onto the paper towel for a few seconds. This method allows the heat to melt the wax on clothing, which is then absorbed by the paper towel. It is crucial to move the paper towel frequently to a clean section to prevent reapplying the wax onto the material. For optimal results, specialists recommend using a high-performance steam iron, such as the Pro Master X-CEL, which offers accurate heat control that aids in effectively lifting wax on clothing without damaging the fabric.In terms of timing, it typically takes just a few seconds of heat application to begin melting the wax; however, this can vary based on the type of wax and fabric. For example, paraffin wax may require slightly more time compared to softer waxes like soy. If the mark persists, consider using a hair dryer on a low setting to apply heat more evenly across the mark, ensuring that the wax on clothing continues to melt and is absorbed effectively.Real-life examples underscore the effectiveness of this method: one user, Leda Kendig, successfully removed wax from a tablecloth by placing a brown paper square over the wax and applying a heated iron, illustrating that controlled heat is essential for successful wax removal. Always remember to follow up by washing the garment according to its care instructions to eliminate any remaining residue, especially wax on clothing.

5. Treat Any Remaining Stains
After removing the wax, it is essential to inspect for any remaining marks. For effective treatment, select a cleaner specifically designed for wax marks. Products such as Tide Ultra Oxi Powder and Shout Advanced Grease Busting Foam are highly recommended due to their effectiveness in addressing stubborn residues. Tide Ultra Oxi Powder, in particular, is adept at eliminating dye- and pigment-based marks, making it a versatile option for various fabrics.
To achieve optimal results, allow the cleaner to sit for several minutes as per the product guidelines. This waiting period enhances the remover's efficiency, particularly for challenging marks. In practical applications, users have found that letting items like Seventh Generation Laundry Stain Remover rest for up to 24 hours can significantly improve blemish removal.
Experts emphasize the importance of prompt action; marks treated quickly are generally easier to remove than those that have set in. For instance, the Tide To Go Instant Spot Remover serves as a convenient solution for on-the-go cleaning, effectively tackling fresh marks before they become more entrenched. As noted by cleaning professionals, utilizing the appropriate product and allowing adequate time for it to work can greatly influence the outcome, ensuring a neat result on your clothing.

6. Wash and Dry the Clothing Properly
After completing the stain treatment, it is essential to act promptly to prevent the wax from adhering to the material. Begin by washing the item according to the care label instructions, utilizing the hottest water that is safe for the fabric to effectively remove any remaining wax residue. Once the washing cycle concludes, inspect the stained area before proceeding to dry the item.If any wax persists, repeat the previous steps to ensure thorough cleaning. When satisfied with the removal of the blemish, dry the garment according to the care instructions, avoiding the dryer until you are certain all marks have been eliminated, as heat can set any remaining wax. Additionally, consider soaking the item for at least one hour after applying the stain treatment to enhance the cleaning process

Conclusion
In conclusion, effectively removing wax stains from clothing is a manageable task when approached with a systematic method. By adhering to the steps outlined in this guide, individuals can restore their garments to pristine condition, preventing wax stains from becoming permanent. The significance of using appropriate tools, allowing the wax to harden, and applying heat correctly cannot be overstated, as these techniques are essential for successful removal.
This article highlights several key techniques:
-
Gathering necessary materials such as paper towels, a dull knife, and a heat source
-
Emphasizing the importance of working carefully to avoid damaging the fabric
-
Scraping off excess wax
-
Treating any residual stains with effective products
Each step contributes to a comprehensive approach to wax removal. By following these guidelines, one can greatly enhance the likelihood of successfully eliminating wax stains from various types of fabric.
Ultimately, the ability to effectively remove wax stains not only preserves clothing but also fosters confidence in managing household mishaps. By employing the best practices outlined in this guide, individuals can confront wax stains directly, ensuring that their favorite garments remain in excellent condition. Taking prompt action and utilizing the right techniques will yield the best results, reinforcing the notion that with the right knowledge, no stain is insurmountable.
Say Goodbye to Wax Stains with Expert Care!
Trust Whites to restore your garments to perfection-order our premium laundry service today!
Frequently Asked Questions
What tools and materials are necessary for removing wax from clothing?
The necessary tools and materials include paper towels or blotting paper, a dull knife or spoon, an iron or hair dryer, a stain remover, and a washing machine.
Why is it important to check the care label of a garment before removing wax?
Checking the care label is crucial to ensure that the cleaning methods you choose are safe for the specific fabric of the garment.
What is the first step to take when removing wax from clothing?
The first step is to allow the wax to harden completely, which can be expedited by placing the item in the freezer for about 15 to 30 minutes.
How can hardened wax be removed from fabric?
Once the wax has hardened, it can be gently scraped off using a dull knife or the edge of a credit card, minimizing the risk of damaging the material.
What should be done after extracting the wax from the clothing?
After extracting the wax, it is advisable to inspect the material for any residual marks and treat them with a stain remover if necessary.
How can heat be used in the wax removal process?
An iron or hair dryer can be used to apply heat to any remaining wax, softening it for easier absorption with paper towels.
What type of iron is recommended for the wax removal process?
A low, non-steam iron is recommended to enhance the effectiveness of the wax removal process.
